- To create a new Project, navigate to the "Clients" module.
- Verify that you can navigate by clicking on Clients in the side bar.
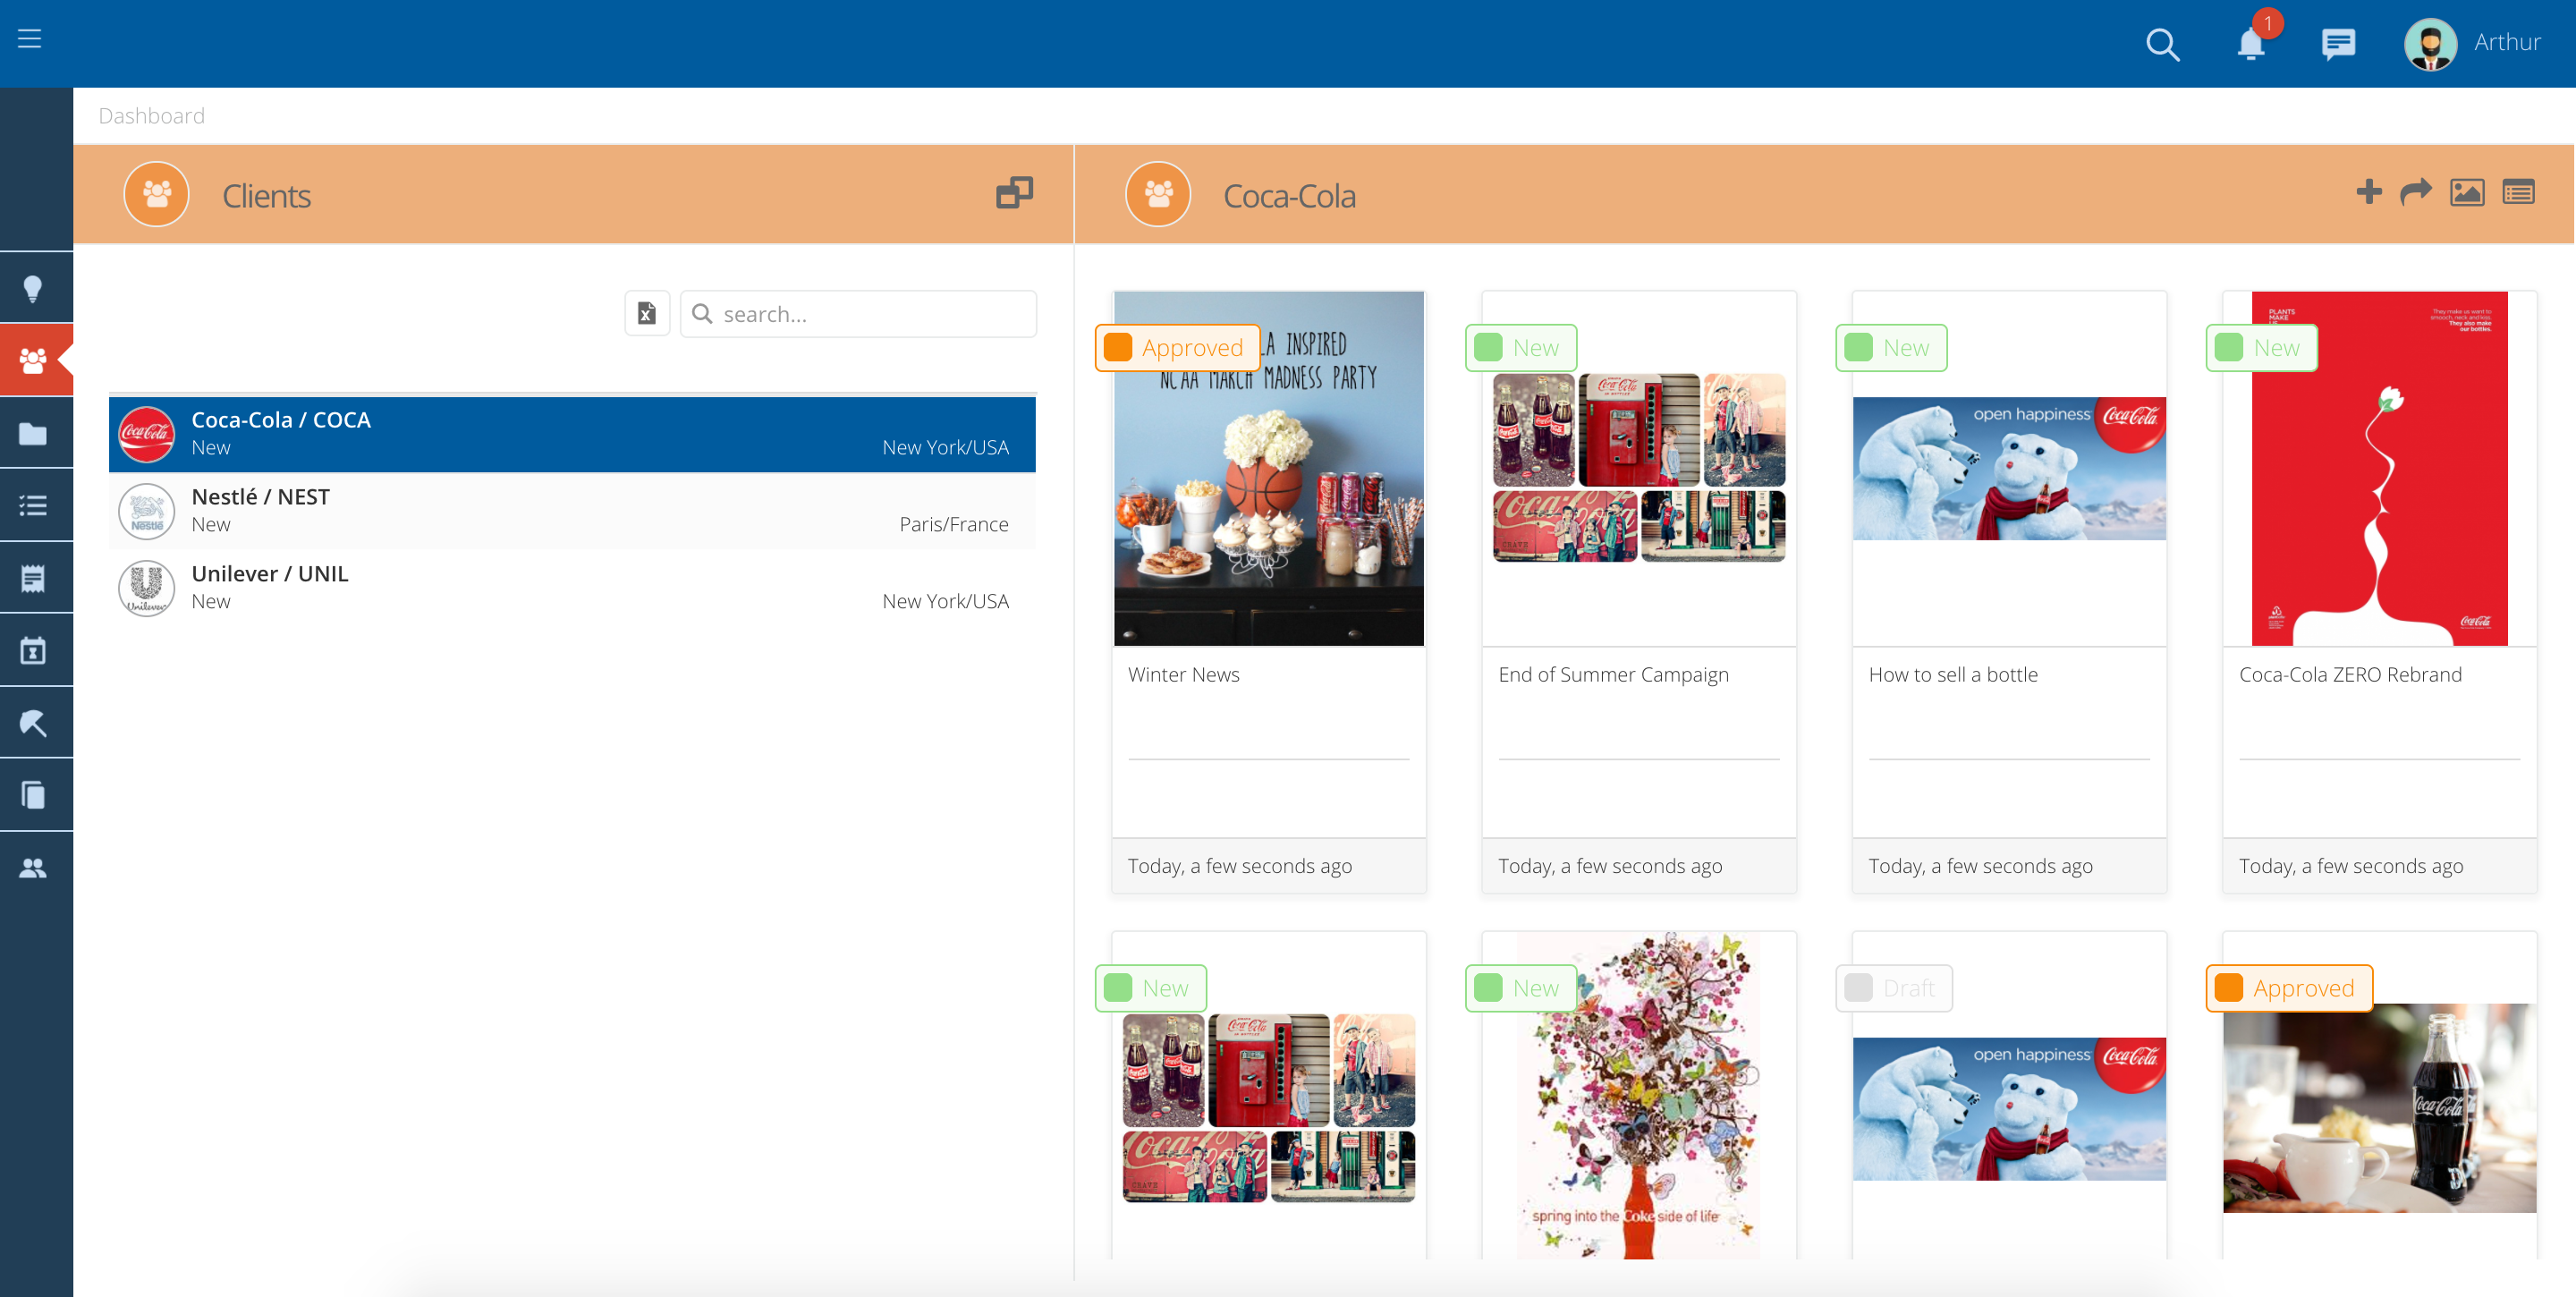
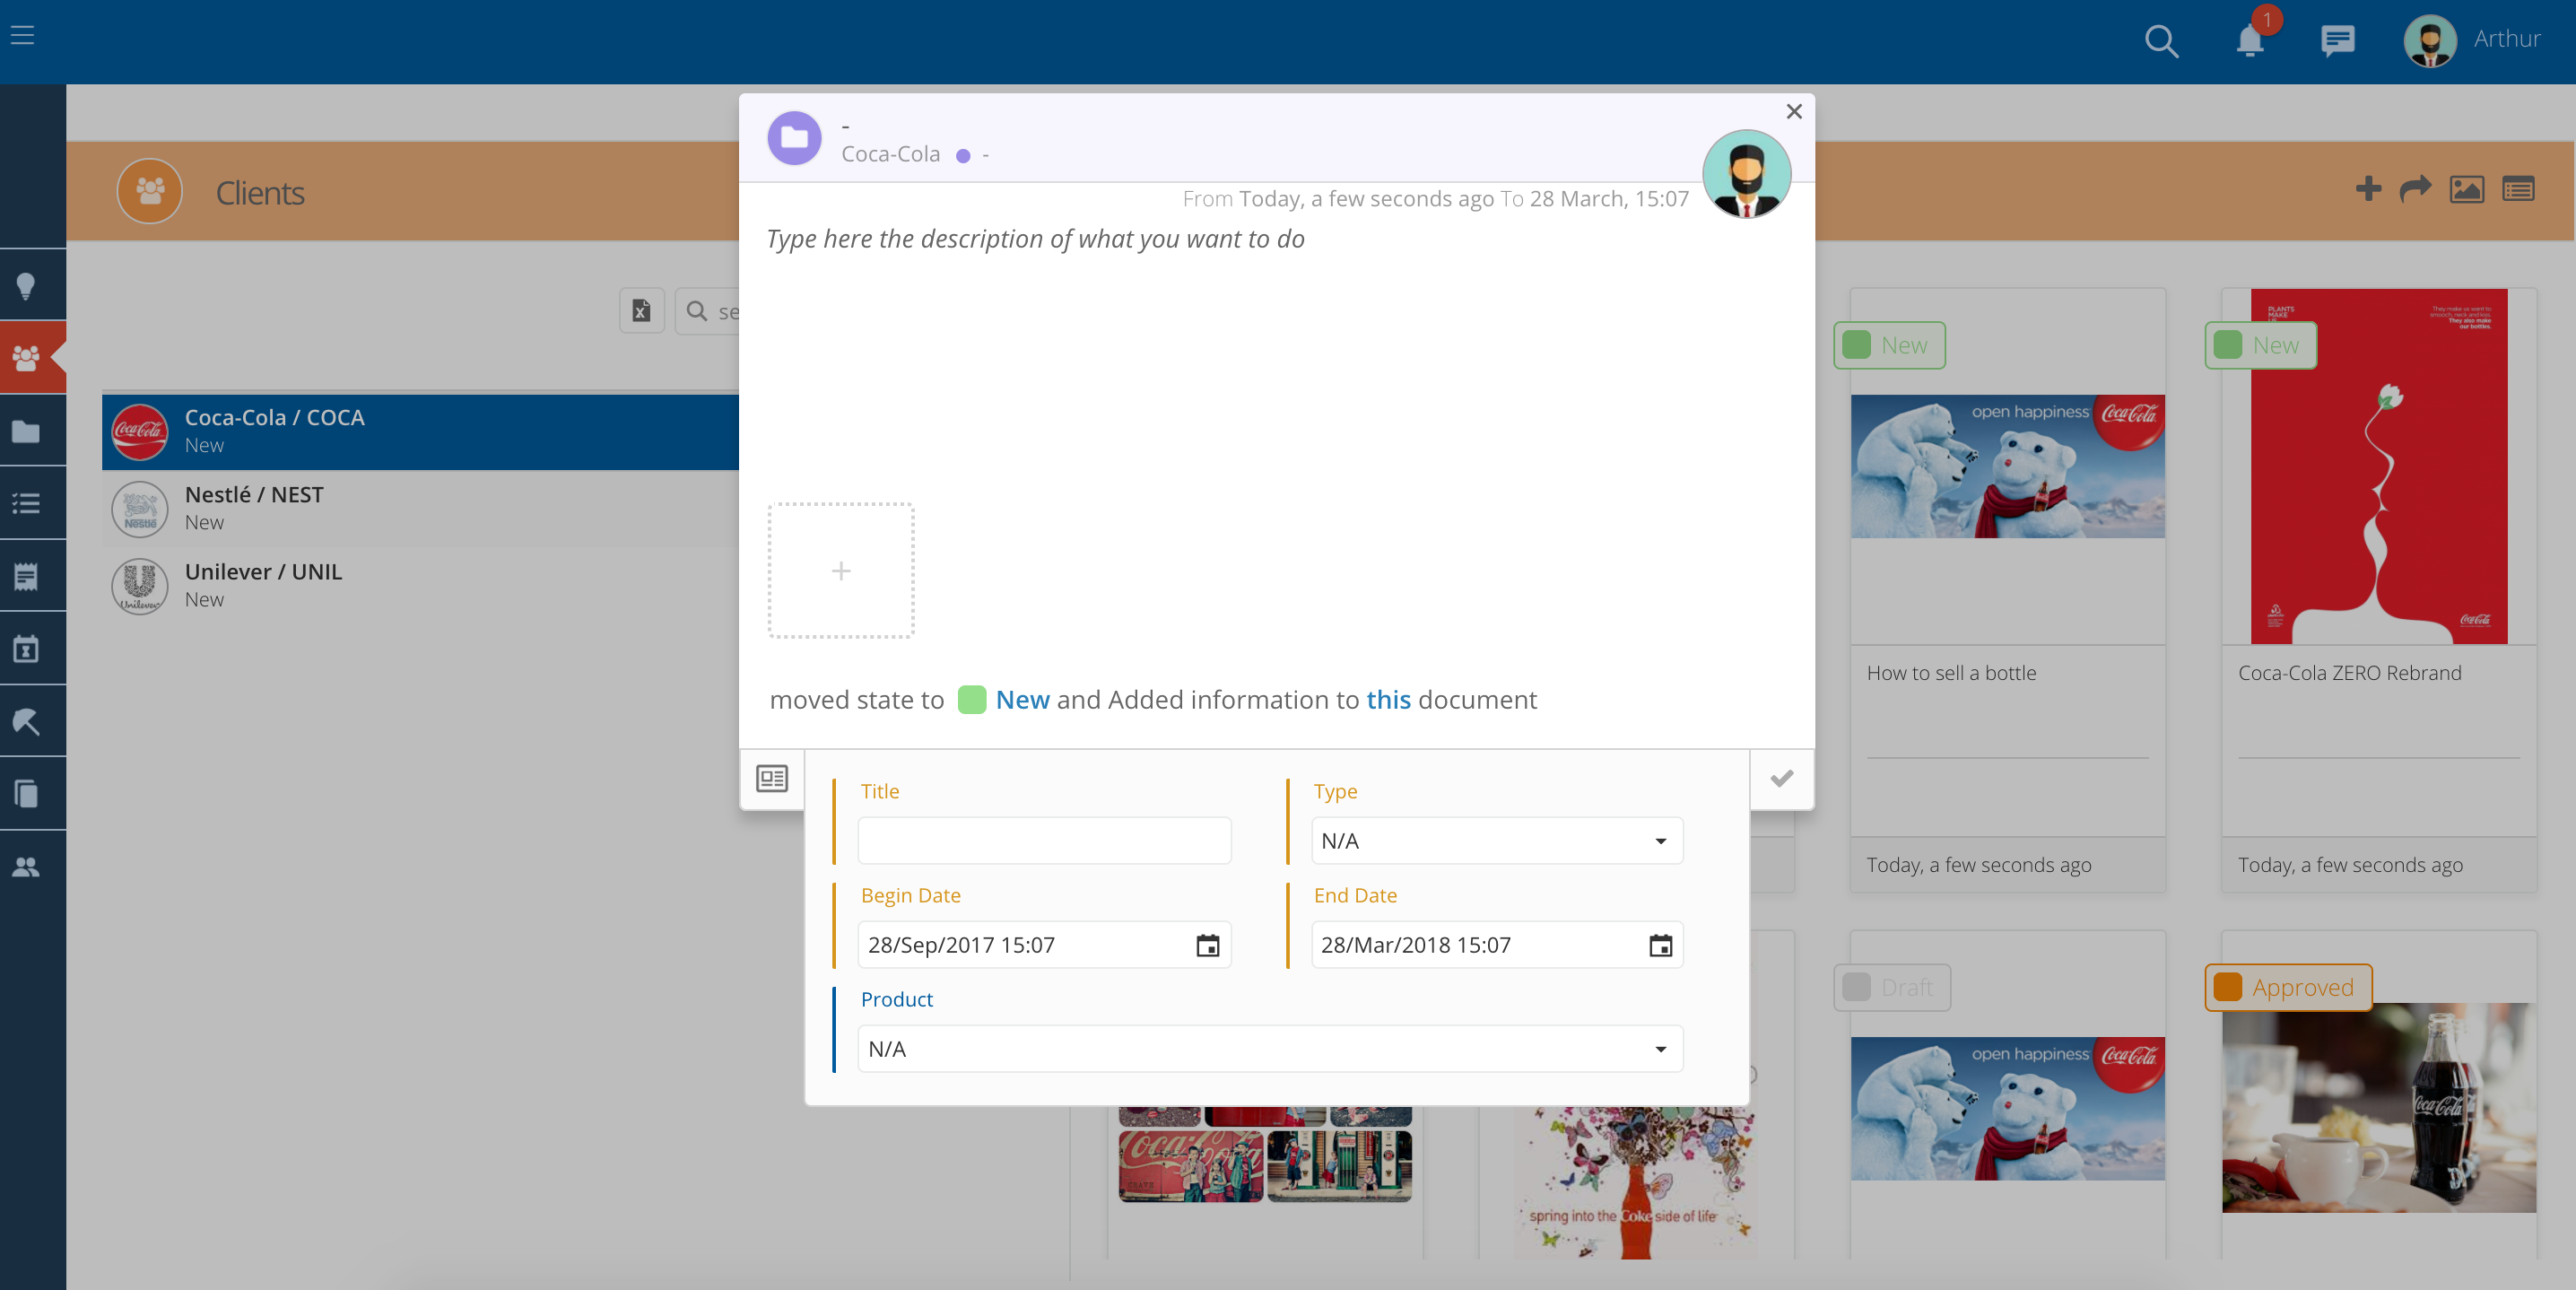
- After selecting a client click on the "+" to open a new Project creation popup.
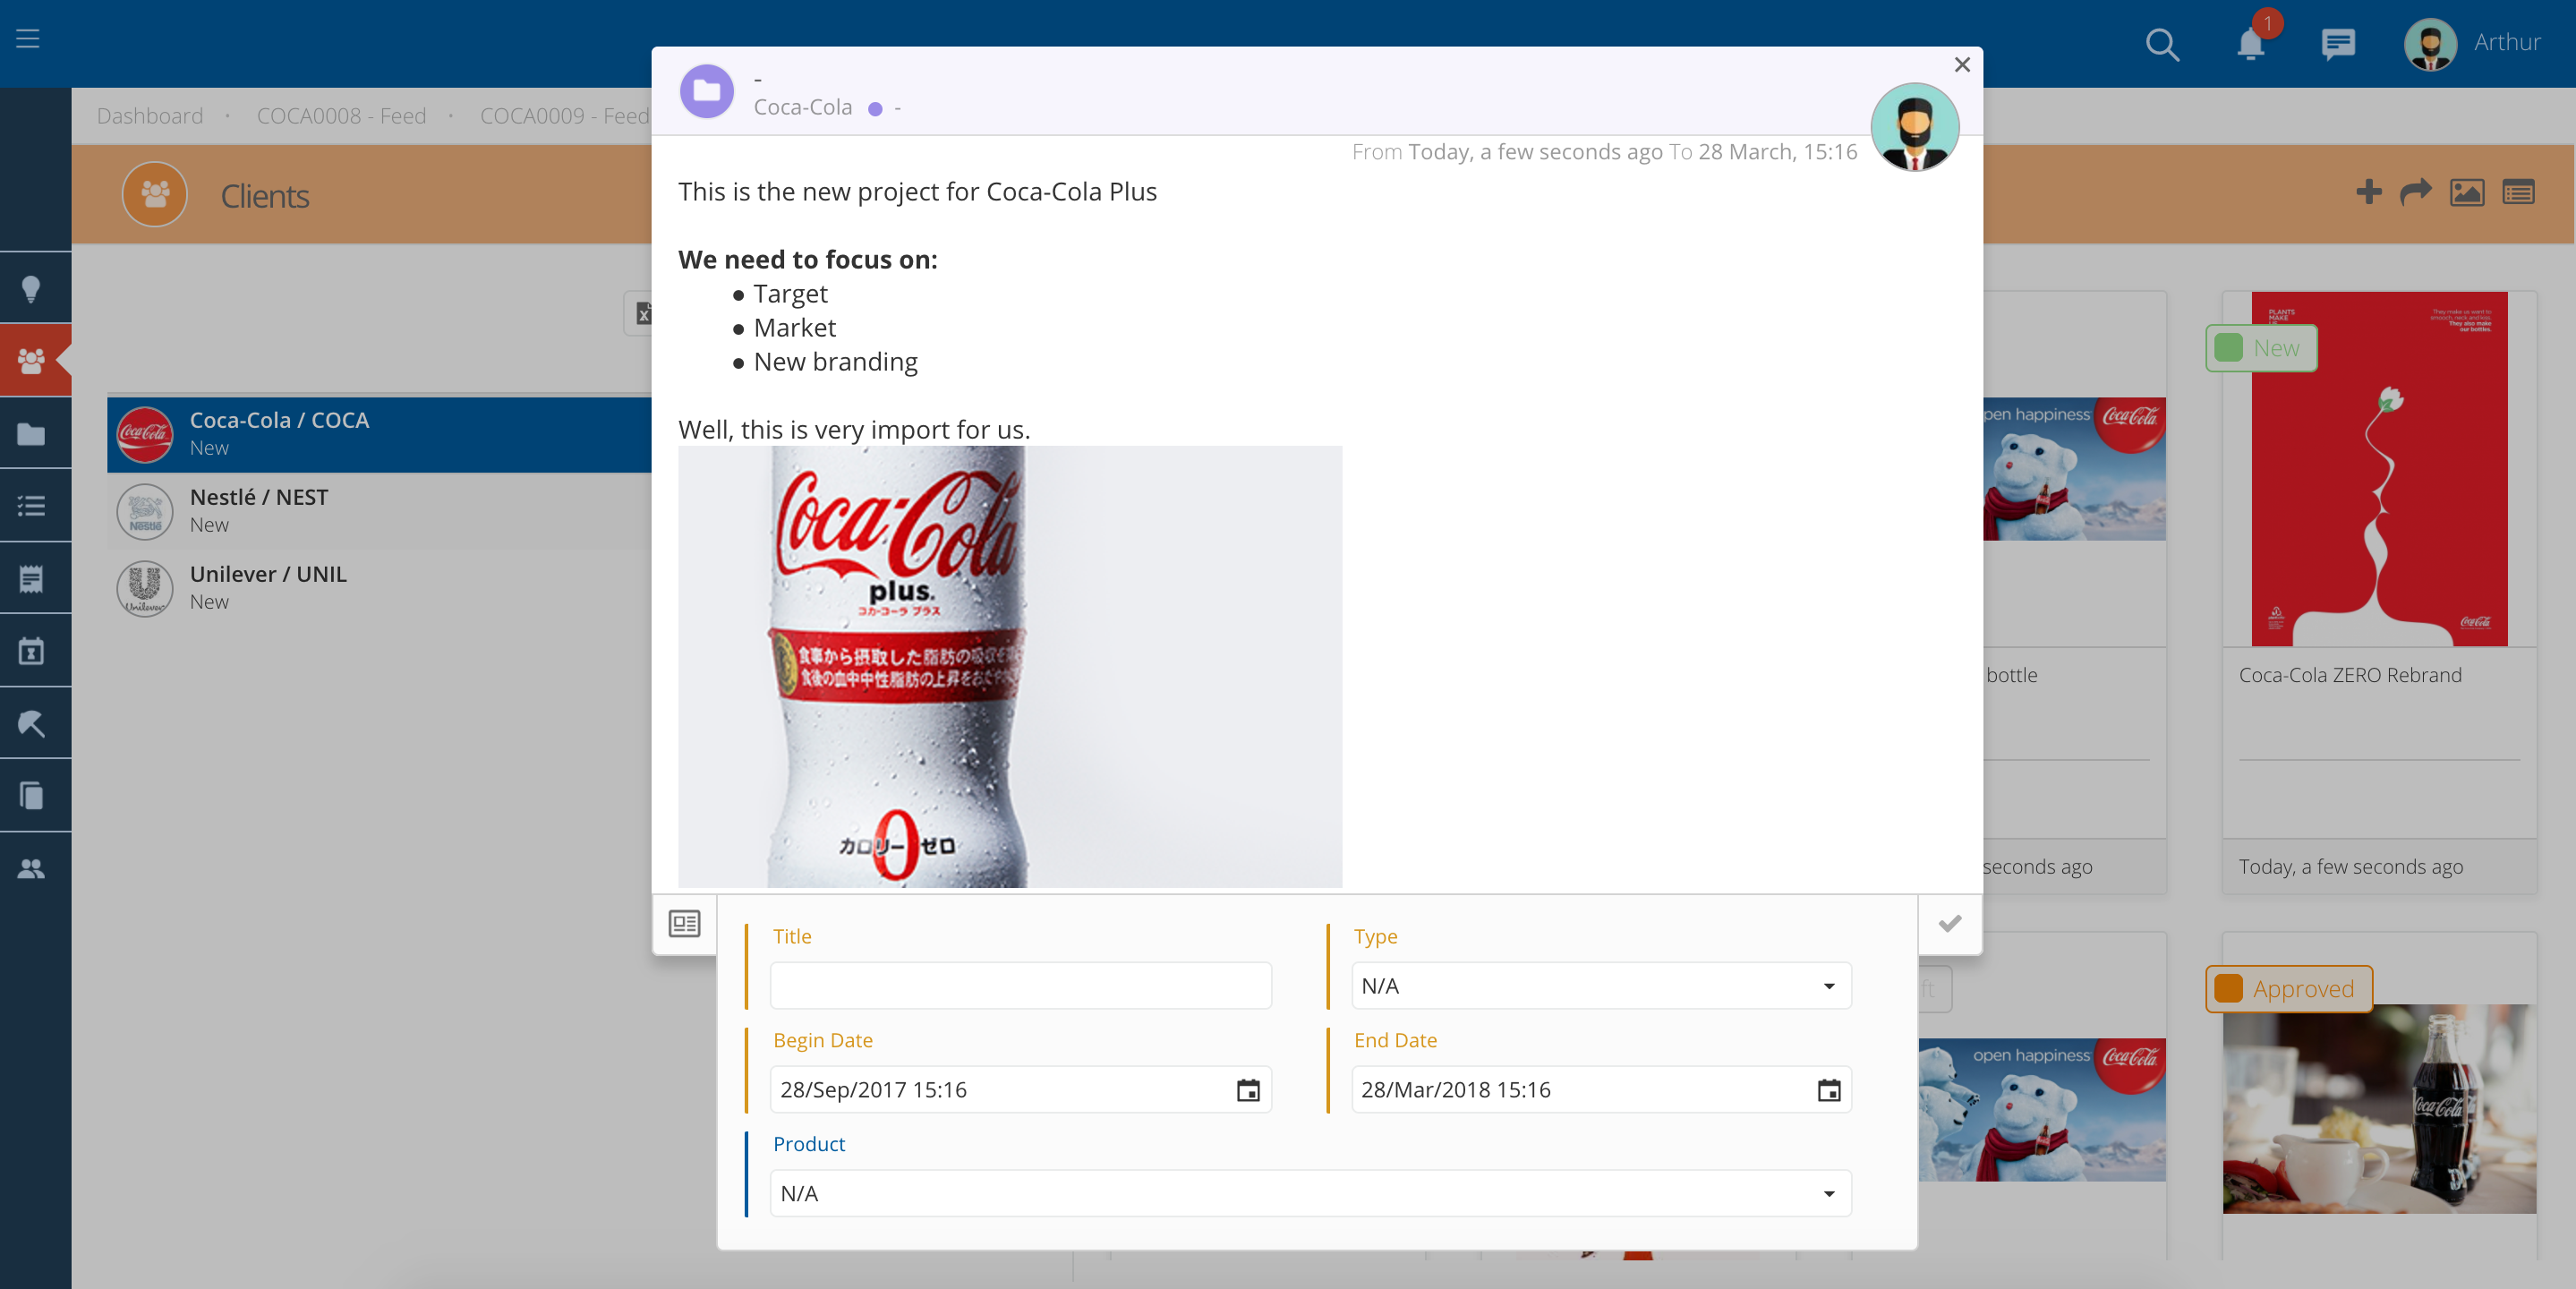
- Fill in the yellow (mandatory) fields.
- Title - Name you would like to give to the Project.
- Begin/End - Choose when the Project starts and when it will end.
- Type - Choose from a drop-down list. E.g. New Business, Admin, etc.
- Product - Product you are creating this Project for. Select from a dropdown list of Products you have access to.
Add a Brief to the Project
- You can add a brief with all the information and customer instructions.
- Just type in all the information on the description, inside the new Project creation popup.
Attach a file
- You can also attach files to the Project simply by dragging them inside the popup, or by clicking on the dotted square.
- This is useful for adding brief documents or presentations, in any of the main formats (Word, PPT, Excel, PDF, etc.)
After filling in all the fields, you will need to activate the project.
- Click on the check to close the form and select the small blue arrow on the bottom right.
- After clicking on it, the Project will get a number (see Project code at the top) and it will no longer be on the stage Draft.
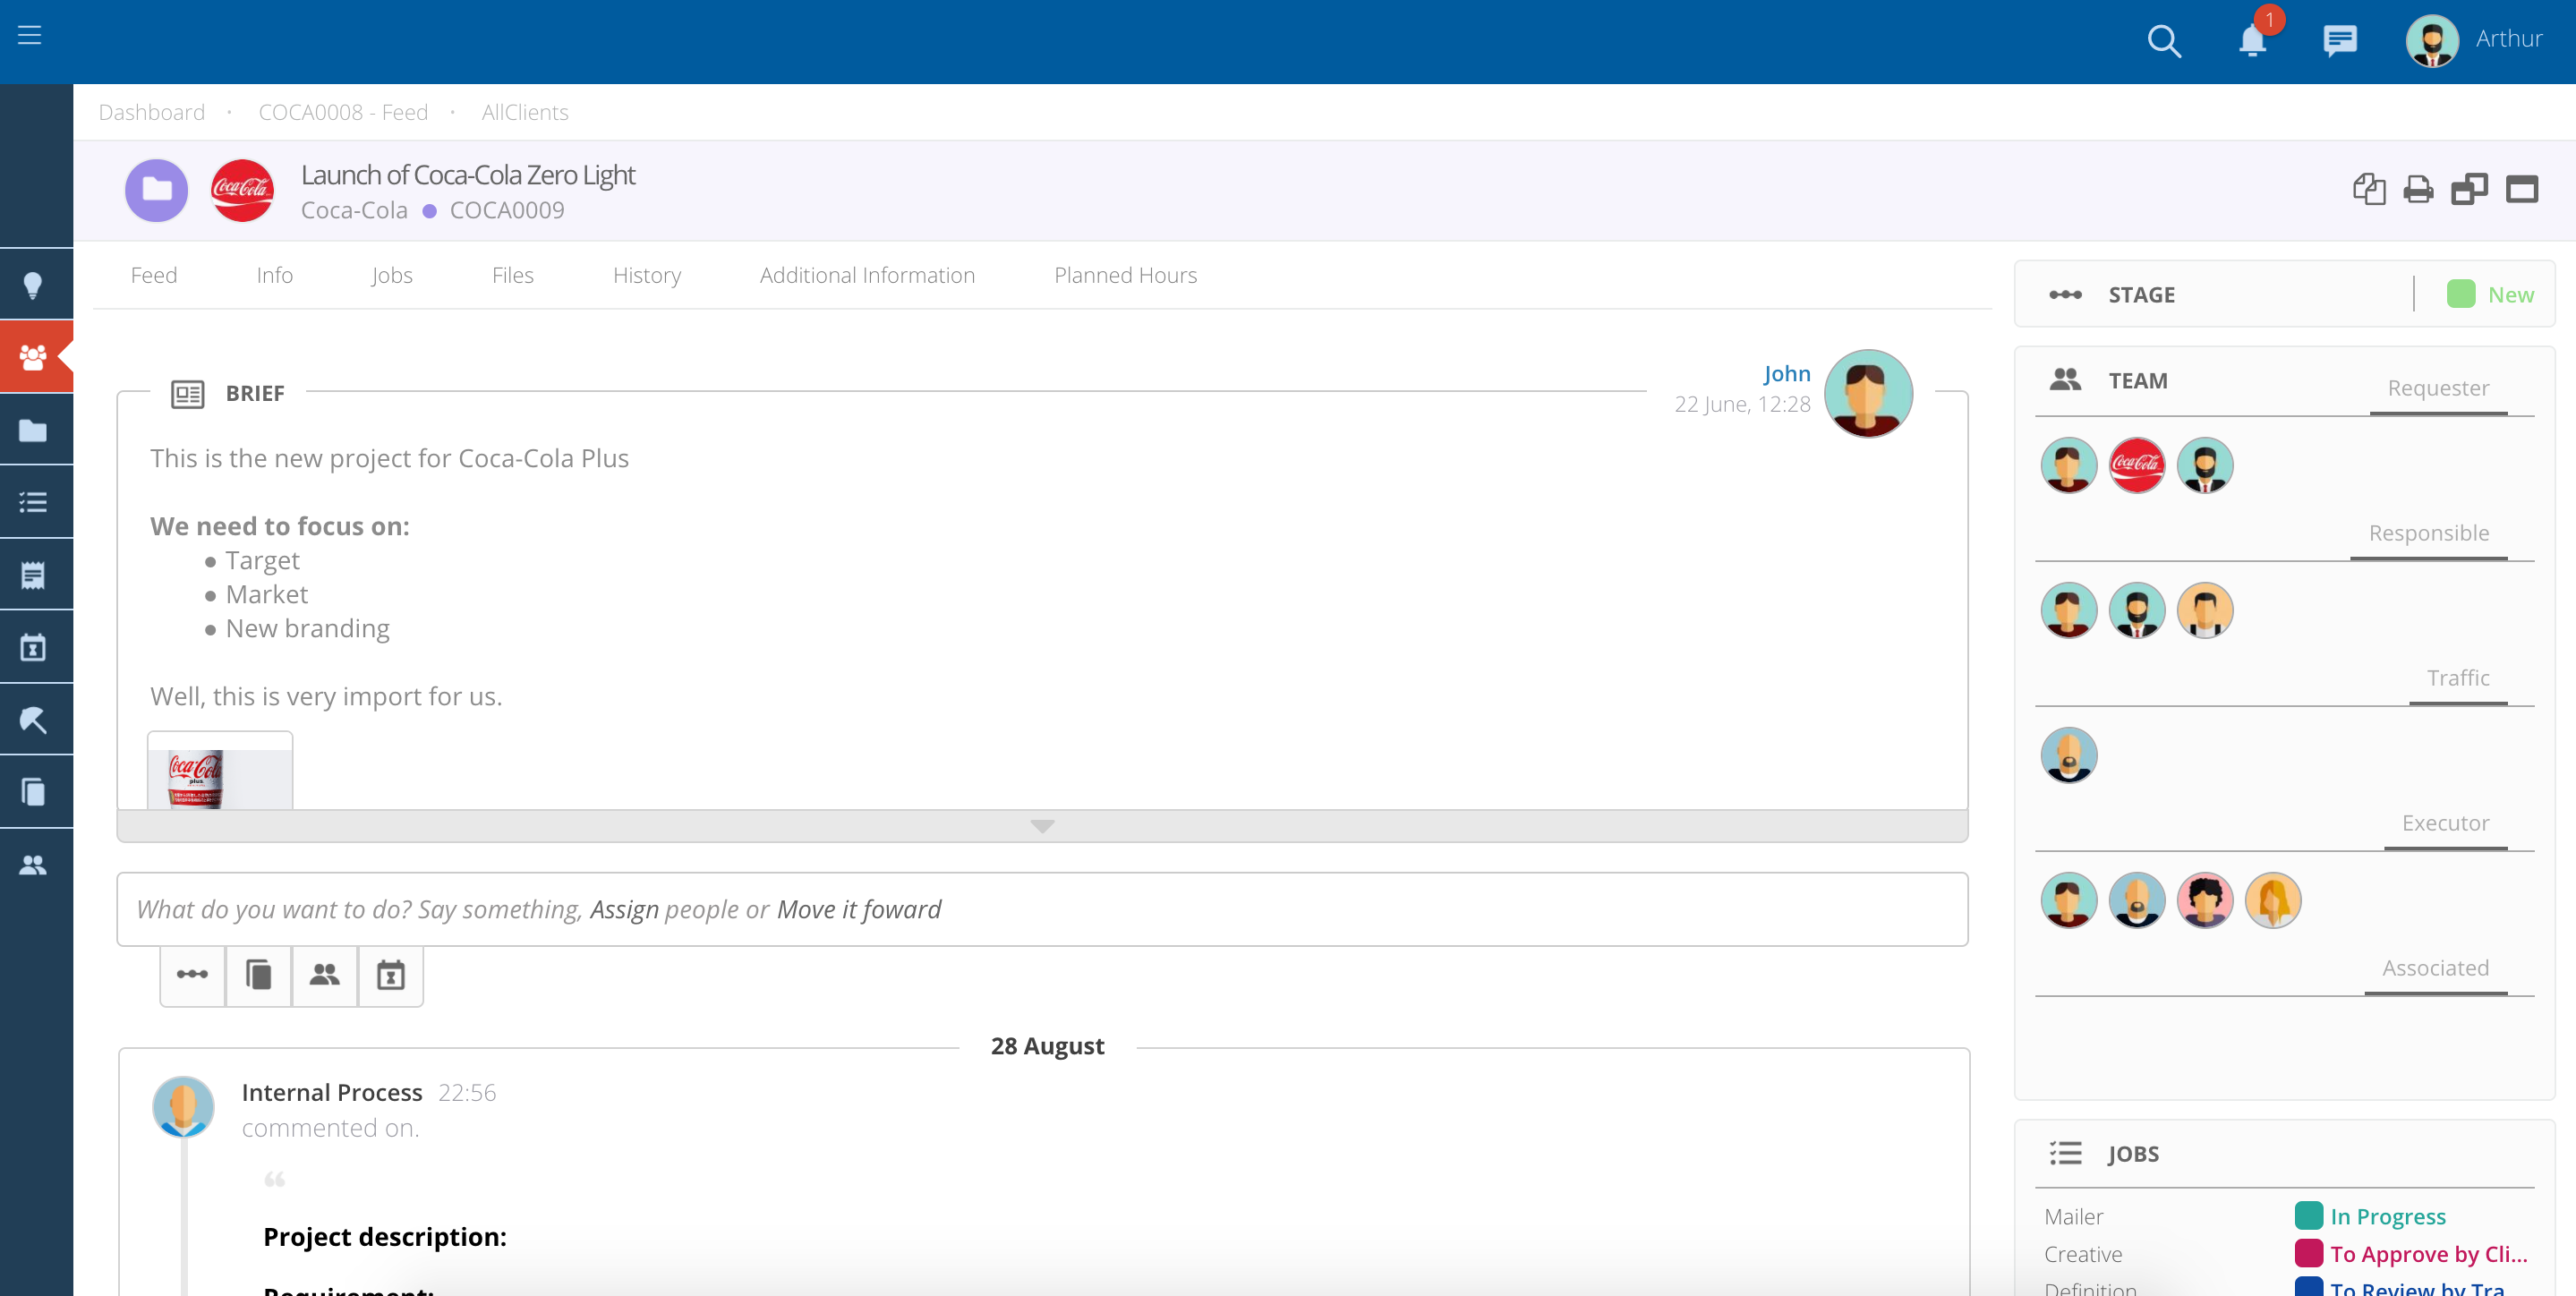
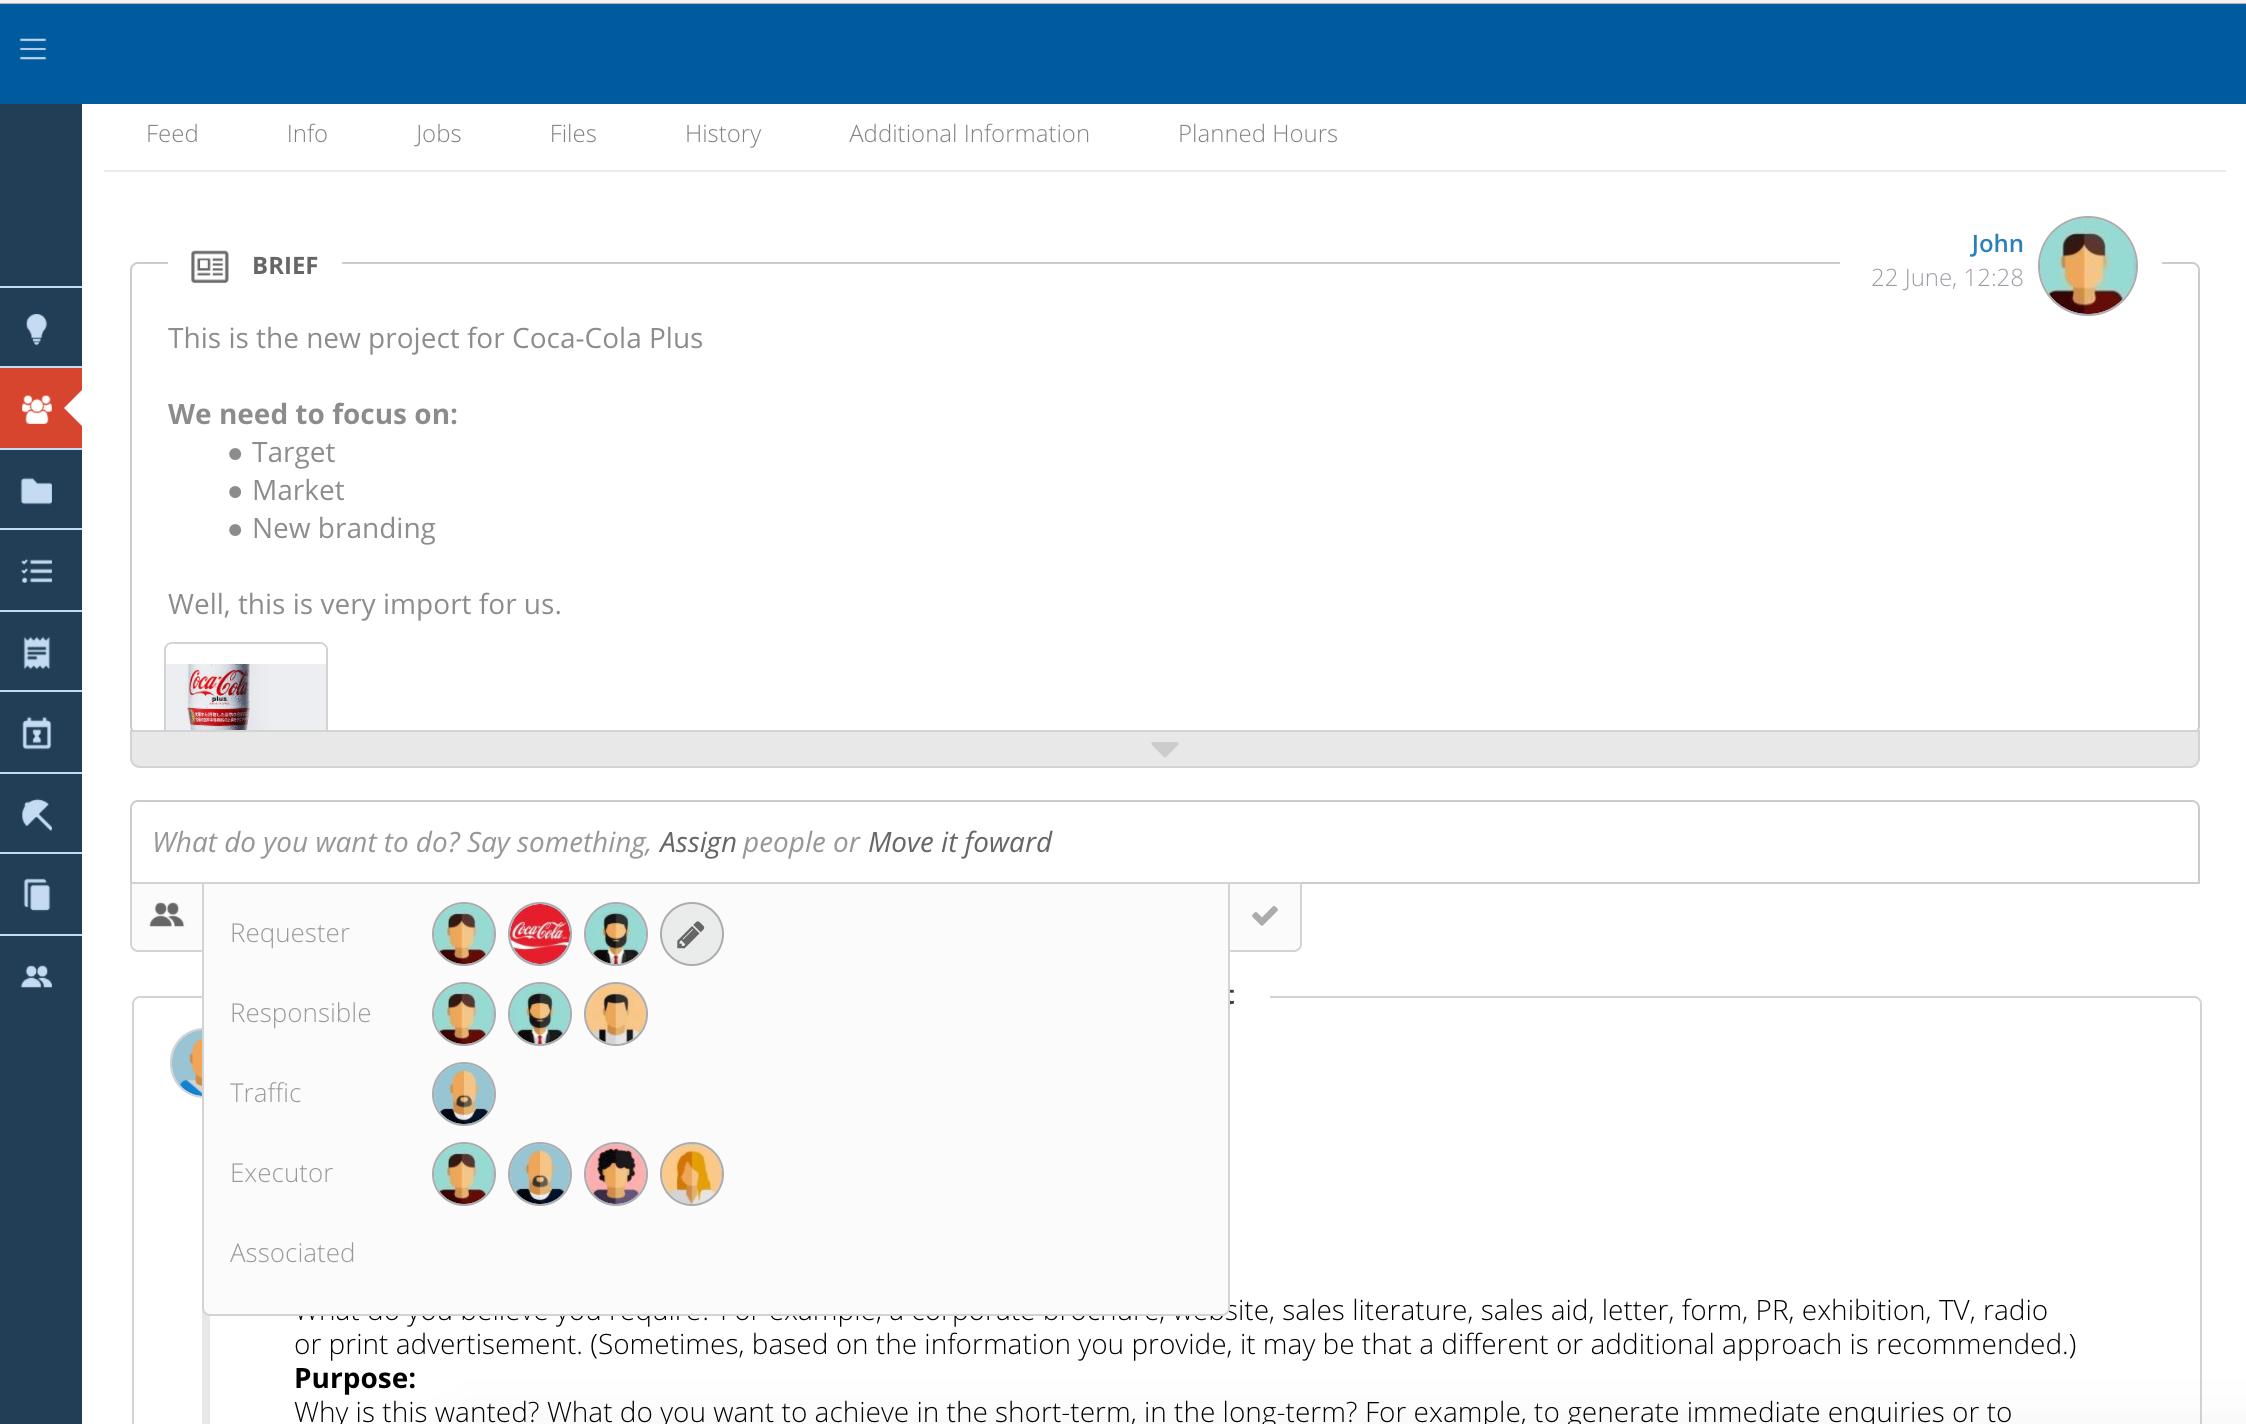
Add people to the Project's team
- If you have access to change the Team you will see an Add Assignment symbol bellow the Brief section.
- Add or remove people to each of the groups by clicking on the pencil.
- A dropdown will appear with a list of users.
- Select the users that you want to assign and click on the check to add them to the Team.
At the top of the page you will be able to find various tabs with information about this Project
- Feed - Activity and comments related with the Project.
- Jobs - List of existing jobs belonging to this Project.
- Planned Hours - Planned versus Actual hours per typology and/or user for the Project.
- Files - All the files uploaded into this Project will appear on this tab.
- History - Track of status changes. You can see for example who created the Project and at what time.
- Others - You may also find other tabs depending on the modules of the system you have access to.